
Reacting to Data on the Blockchain
Making IoT react to data on the blockchain is rough. There's not a lot of support, and the learning curve is fairly steep. Fortunately the tools to get your project up and running are here.
This guide will serve as your own personal primer on triggering events in the real-world using data stored on the Swipechain blockchain.
The example we will be building works on both, the Arduino IDE and with PlatformIO. We will be using Swipechain Cpp-Client, Cpp-Crypto, and an Adafruit ESP32 Feather "blink" when your boards Chip ID hash is found on the Swipechain blockchain. With a little tweaking, you could even trigger solenoids, servos, or cloud functions depending on your projects goals.
Step 1: Project Setup
If you're using PlatformIO, your platformio.ini file should look like this:
; PlatformIO Project Configuration File
;
;   Build options: build flags, source filter
;   Upload options: custom upload port, speed and extra flags
;   Library options: dependencies, extra library storages
;   Advanced options: extra scripting
;
; Please visit documentation for the other options and examples
; https://docs.platformio.org/page/projectconf.html

[env:featheresp32]
platform = espressif32
board = featheresp32
framework = arduino
lib_deps = Swipechain-Cpp-Client, Swipechain-Cpp-Crypto
upload_speed = 921600
monitor_speed = 115200
if you're using arduino, you can skip this
platformio.inipart above ^
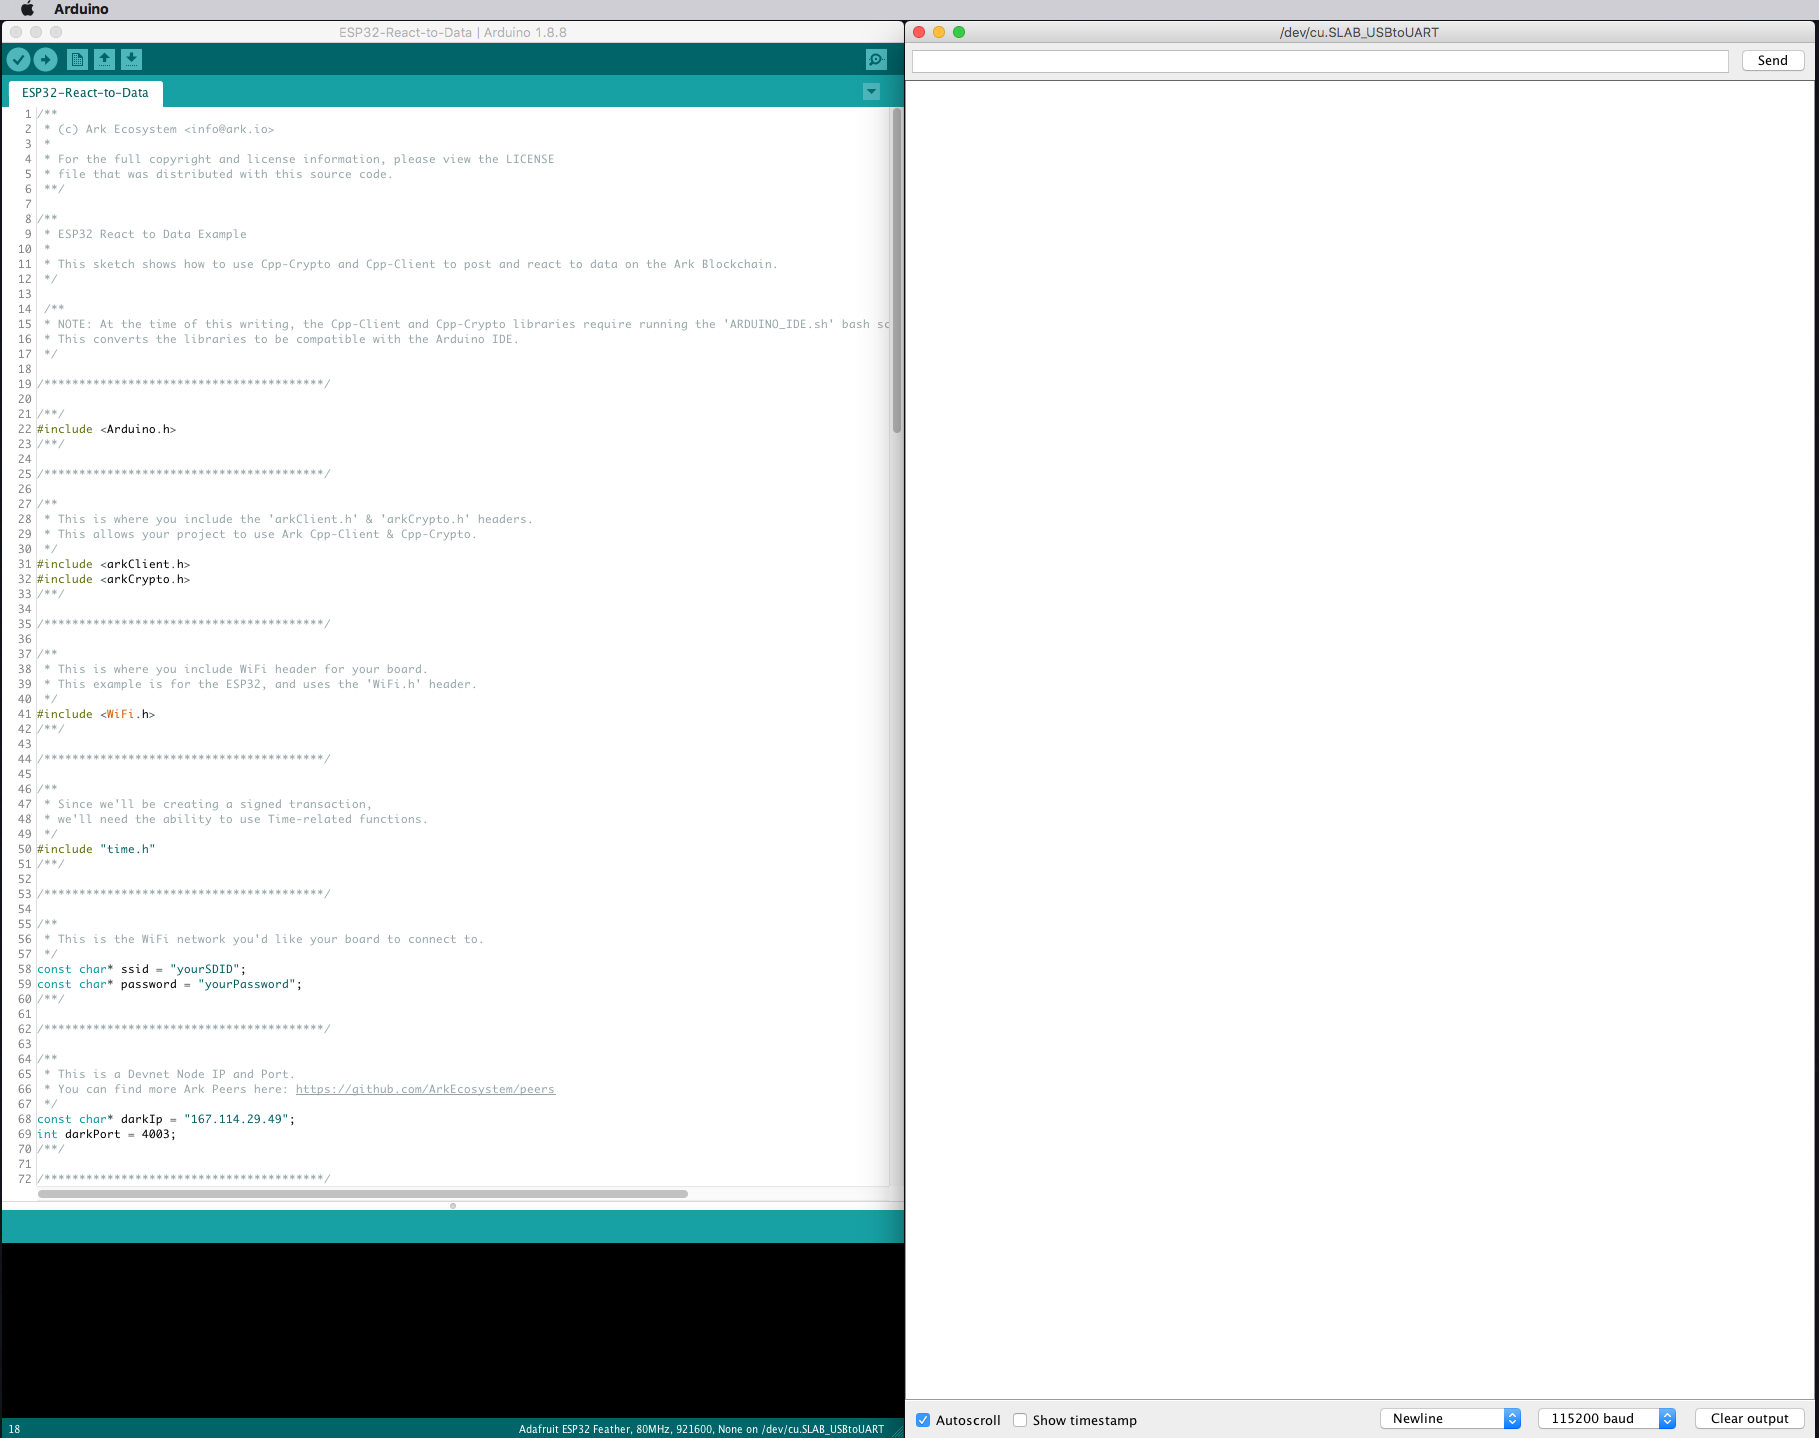
Open a new sketch using the Arduino IDE, or your 'main.cpp' file if using PlatformIO. Start by adding the headers to import Arduino, Swipechain Cpp-Client, and Cpp-Crypto.
#"Include <Arduino.h>"

#include <swipechainClient.h>
#include <swipechainCrypto.h>

void setup() {
    // put your setup code here, to run once:
}

void loop() {
    // put your main code here, to run repeatedly:
}
The ESP32 uses the 'WiFi.h' and 'HTTPClient.h' headers to setup your WiFi connection.
#include <WiFi.h>
#include <HTTPClient.h>
We also are using Cpp-Crypto's Transaction signing, and need a way to set the time, so we'll also include 'time.h'.
#include "time.h"
Next, add your WiFi network and password.
const char* ssid = "yourWiFiSSID";
const char* password = "yourWiFiPassword";
We will also need a Devnet peer to connect to.
TIP
You can find more Swipechain peers here: https://github.com/SwipeChain/peers
const char* dswipechainIp = "167.114.29.49";
int dswipechainPort = 4003;
Now, we'll add your Swipechain Devnet (DSXP) address and your passphrase. Make sure to delete this passphrase from your sketch when we're finished.
const char* recipientId = "yourSwipechainDevnetAddress";
const char* yourSecretPassphrase = "yourSecretPassphrase";
We'll also define the pin of the LED we want to blink.
#define led 13
Create the connection object we'll use to talk to the Swipechain blockchain via its API.
Swipechain::Client::Connection<Swipechain::Client::Api> connection(dswipechainIp, dswipechainPort);
Also create a variable to store your VendorField, this will be your board ID's hash and is what we'll be searching for on the blockchain later.
char vendorField[Sha256::BLOCK_LEN + 1] = { '\0' };
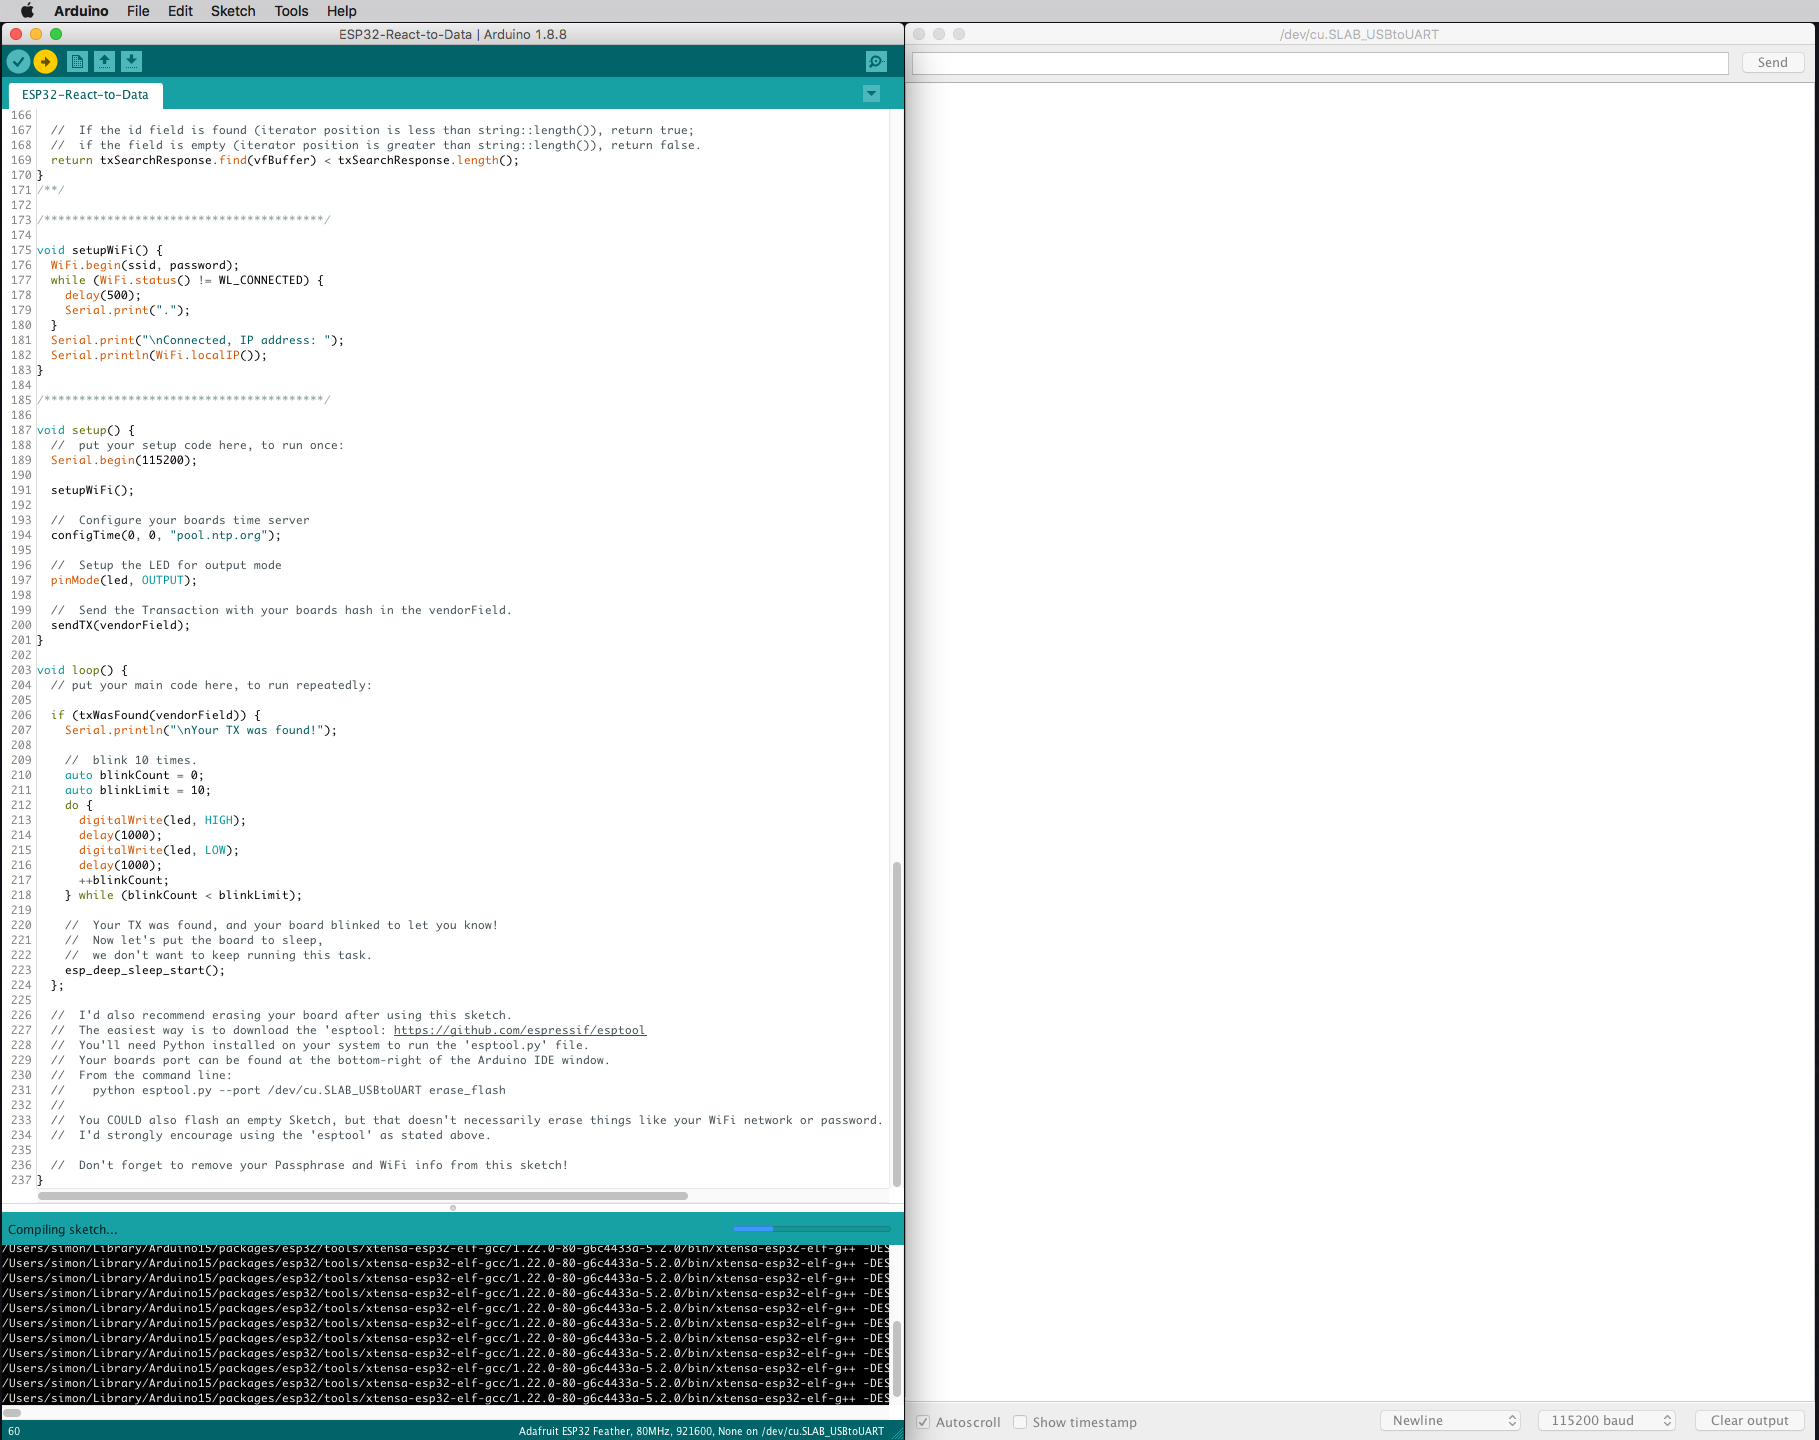
Let's also configure the 'setup()' method to initialize your boards serial connection.
void setup() {
    // put your setup code here, to run once:
    Serial.begin(115200);
}
Next, we'll add a method to setup and connect to your WiFi, and call that method from setup.
void setupWiFi() {
    WiFi.begin(ssid, password);
    while (WiFi.status() != WL_CONNECTED) {
        delay(500);
        Serial.print(".");
    }
    Serial.print("\nConnected, IP address: ");
    Serial.println(WiFi.localIP());
}

void setup() {
    // put your setup code here, to run once:
    Serial.begin(115200);

    setupWiFi();
}
Finally, we'll add the call to configure your boards time.
configTime(0, 0, "pool.ntp.org");
Your sketch should now look something like this:
#include <Arduino.h>

#include <swipechainClient.h>
#include <swipechainCrypto.h>

#include <WiFi.h>
#include <HTTPClient.h>
#include "time.h"

const char* ssid = "yourSDID";
const char* password = "yourPassword";

const char* dswipechainIp = "167.114.29.49";
int dswipechainPort = 4003;

const char* recipientId = "yourSwipechainDevnetAddress";
const char* yourSecretPassphrase = "yourSecretPassphrase";

#define led 13

Swipechain::Client::Connection<Swipechain::Client::Api> connection(dswipechainIp, dswipechainPort);

char vendorField[Sha256::BLOCK_LEN + 1] = { '\0' };

void setupWiFi() {
    WiFi.begin(ssid, password);
    while (WiFi.status() != WL_CONNECTED) {
        delay(500);
        Serial.print(".");
    }
    Serial.println();
    Serial.print("Connected, IP address: ");
    Serial.println(WiFi.localIP());
}

void setup() {
    // put your setup code here, to run once:
    Serial.begin(115200);

    setupWiFi();

    configTime(0, 0, "pool.ntp.org");

}

void loop() {
    // put your main code here, to run repeatedly:
}
Step 2: Posting Your Data to the Swipechain Blockchain
Next we'll be posting data to the blockchain. You can just copy this method from below into your example project
If you want to find out more about what's going here, you can check out "Storing Data on the Blockchain".
void sendTX(char vfBuffer[Sha256::BLOCK_LEN + 1]) {
    int idByteLen = 6;
    uint64_t chipId = ESP.getEfuseMac();

    uint8_t *bytArray = *reinterpret_cast<uint8_t(*)[sizeof(uint64_t)]>(&chipId);
    std::reverse(&bytArray[0], &bytArray[idByteLen]);

    const auto shaHash = Sha256::getHash(&bytArray[0], idByteLen);
    memmove(vfBuffer, BytesToHex(&shaHash.value[0], &shaHash.value[0] + shaHash.HASH_LEN).c_str(), Sha256::BLOCK_LEN);

     Transaction transaction = Swipechain::Crypto::Transactions::Builder::buildTransfer(recipientId, 1, vfBuffer, yourSecretPassphrase);
    const auto txJson = transaction.toJson();

    char jsonBuffer[576] = { '\0' };
    snprintf(&jsonBuffer[0], 576, "{\"transactions\":[%s]}", txJson.c_str());
    std::string jsonStr = jsonBuffer;

    const auto txSendResponse = connection.api.transactions.send(jsonStr);
}
Step 3: Getting and Reacting to Data on the Swipechain Blockchain
Now that we have the "sending" part of the process mapped out, we'll go ahead and create the logic to search the Swipechain blockchain for our VendorField. This method should have the vendorField passed to it.
bool txWasFound(char vfBuffer[Sha256::BLOCK_LEN + 1]) { }
The REST API of the Swipechain blockchain doesn't search for vendorFields explicitly by "string"; rather it uses the HEX representation of the vendorField string.
Let's go ahead and get the Hex of the vendorField, and place that into a string object 'vendorFieldHexString'.
bool txWasFound(char vfBuffer[Sha256::BLOCK_LEN + 1]) {

    std::string vendorFieldHexString;
    static const char* const hexChars = "0123456789ABCDEF";
    size_t vendorFieldLen = 64;
    vendorFieldHexString.reserve(2 * vendorFieldLen);
    for (size_t i = 0; i < vendorFieldLen; ++i) {
        const unsigned char c = vfBuffer[i];
        vendorFieldHexString.push_back(hexChars[c >> 4]);
        vendorFieldHexString.push_back(hexChars[c & 15]);
    };

}
Next, we will search the Swipechain blockchain for a transaction containing our VendorField. The 'transaction' search method takes a string map of key-value pairs. (std::map<std::string, std::string>)
bool txWasFound(char vfBuffer[Sha256::BLOCK_LEN + 1]) {

    std::string vendorFieldHexString;
    static const char* const hexChars = "0123456789ABCDEF";
    size_t vendorFieldLen = 64;
    vendorFieldHexString.reserve(2 * vendorFieldLen);
    for (size_t i = 0; i < vendorFieldLen; ++i) {
        const unsigned char c = vfBuffer[i];
        vendorFieldHexString.push_back(hexChars[c >> 4]);
        vendorFieldHexString.push_back(hexChars[c & 15]);
    };

    std::string txSearchResponse = connection.api.transactions.search({{"vendorFieldHex", vendorFieldHexString}});
}
Finally for this 'txWasFound()' method, we return wether or not the response contains our VendorField. If it was found, it will return 'true'; otherwise if the vendorField was not found, it will return 'false'.
bool txWasFound(char vfBuffer[Sha256::BLOCK_LEN + 1]) {

    std::string vendorFieldHexString;
    static const char* const hexChars = "0123456789ABCDEF";
    size_t vendorFieldLen = 64;
    vendorFieldHexString.reserve(2 * vendorFieldLen);
    for (size_t i = 0; i < vendorFieldLen; ++i) {
        const unsigned char c = vfBuffer[i];
        vendorFieldHexString.push_back(hexChars[c >> 4]);
        vendorFieldHexString.push_back(hexChars[c & 15]);
    };

    std::string txSearchResponse = connection.api.transactions.search({{"vendorFieldHex", vendorFieldHexString}});

    return txSearchResponse.find(vfBuffer) < txSearchResponse.length();
}
Step 4: Tying It All Together!
Now that we have set up our example and created the necessary variables to connect, send, and search for a transaction, we're ready to wrap things up by calling our 'sendTx' and 'txWasFound' methods from 'setup()' and 'loop()'.
go to your 'setup()' and 'loop()' methods:
void setup() {
    // put your setup code here, to run once:
    Serial.begin(115200);

    setupWiFi();

    configTime(0, 0, "pool.ntp.org");
}

void loop() {
    // put your main code here, to run repeatedly:
}
In 'setup()', add the line to setup your boards LED with the pin you specified, and set it on OUTPUT mode.
pinMode(led, OUTPUT);
Also add the method to send the transaction, 'sendTx()'.
sendTX(vendorField);
'setup()' should look something like this:
void setup() {
    //  put your setup code here, to run once:
    Serial.begin(115200);

    setupWiFi();

    configTime(0, 0, "pool.ntp.org");

    pinMode(led, OUTPUT);

    sendTX(vendorField);
}
Hop down to the 'loop()' method.
void loop() {
    // put your main code here, to run repeatedly:
}
Let's start by placing a simple 'if' statement to check for the transaction containing your VendorField.
void loop() {
    // put your main code here, to run repeatedly:

    if (txWasFound(vendorField)) {
    };

}
Inside this 'if' statement, lets create a 'do-while' statement that will make the LED blink 10 times.
auto blinkCount = 0;
auto blinkLimit = 10;
do {
    digitalWrite(led, HIGH);
    delay(1000);
    digitalWrite(led, LOW);
    delay(1000);
    ++blinkCount;
} while (blinkCount < blinkLimit);
After the "blink" section, make sure to put your board to sleep. Looping again won't re-send the transaction, but there's no reason to keep searching for the transaction once it's found.
esp_deep_sleep_start();
'loop()' should now look like this:
void loop() {
    // put your main code here, to run repeatedly:

    if (txWasFound(vendorField)) {
        Serial.println("\nYour TX was found!");

        auto blinkCount = 0;
        auto blinkLimit = 10;
        do {
            digitalWrite(led, HIGH);
            delay(1000);
            digitalWrite(led, LOW);
            delay(1000);
            ++blinkCount;
        } while (blinkCount < blinkLimit);

        esp_deep_sleep_start();
    };

}
The entire sketch should look like this:
#include <Arduino.h>

#include <swipechainClient.h>
#include <swipechainCrypto.h>

#include <WiFi.h>
#include <HTTPClient.h>

#include "time.h"

const char* ssid = "yourSDID";
const char* password = "yourPassword";

const char* dswipechainIp = "167.114.29.49";
int dswipechainPort = 4003;

const char* recipientId = "yourSwipechainDevnetAddress";
const char* yourSecretPassphrase = "yourSecretPassphrase";

#define led 13

Swipechain::Client::Connection<Swipechain::Client::Api> connection(dswipechainIp, dswipechainPort);

char vendorField[Sha256::BLOCK_LEN + 1] = { '\0' };

void sendTX(char vfBuffer[Sha256::BLOCK_LEN + 1]) {
    int idByteLen = 6;
    uint64_t chipId = ESP.getEfuseMac();

    uint8_t *bytArray = *reinterpret_cast<uint8_t(*)[sizeof(uint64_t)]>(&chipId);
    std::reverse(&bytArray[0], &bytArray[idByteLen]);

    const auto shaHash = Sha256::getHash(&bytArray[0], idByteLen);
    memmove(vfBuffer, BytesToHex(&shaHash.value[0], &shaHash.value[0] + shaHash.HASH_LEN).c_str(), Sha256::BLOCK_LEN);

    Transaction transaction = Swipechain::Crypto::Transactions::Builder::buildTransfer(recipientId, 1, vfBuffer, yourSecretPassphrase);
    const auto txJson = transaction.toJson();

    char jsonBuffer[576] = { '\0' };
    snprintf(&jsonBuffer[0], 576, "{\"transactions\":[%s]}", txJson.c_str());
    std::string jsonStr = jsonBuffer;

    const auto txSendResponse = connection.api.transactions.send(jsonStr);
}

bool txWasFound(char vfBuffer[Sha256::BLOCK_LEN + 1]) {

    std::string vendorFieldHexString;
    static const char* const hexChars = "0123456789ABCDEF";
    size_t vendorFieldLen = 64;
    vendorFieldHexString.reserve(2 * vendorFieldLen);
    for (size_t i = 0; i < vendorFieldLen; ++i) {
        const unsigned char c = vfBuffer[i];
        vendorFieldHexString.push_back(hexChars[c >> 4]);
        vendorFieldHexString.push_back(hexChars[c & 15]);
    };

    std::string txSearchResponse = connection.api.transactions.search({{"vendorFieldHex", vendorFieldHexString}});

    return txSearchResponse.find(vfBuffer) < txSearchResponse.length();
}

void setupWiFi() {
    WiFi.begin(ssid, password);
    while (WiFi.status() != WL_CONNECTED) {
        delay(500);
        Serial.print(".");
    }
    Serial.print("\nConnected, IP address: ");
    Serial.println(WiFi.localIP());
}

void setup() {
    Serial.begin(115200);

    setupWiFi();

    configTime(0, 0, "pool.ntp.org");

    pinMode(led, OUTPUT);

    sendTX(vendorField);
}

void loop() {
    // put your main code here, to run repeatedly:

    if (txWasFound(vendorField)) {
        Serial.println("\nYour TX was found!");

        auto blinkCount = 0;
        auto blinkLimit = 10;
        do {
            digitalWrite(led, HIGH);
            delay(1000);
            digitalWrite(led, LOW);
            delay(1000);
            ++blinkCount;
        } while (blinkCount < blinkLimit);

        esp_deep_sleep_start();
    };

}
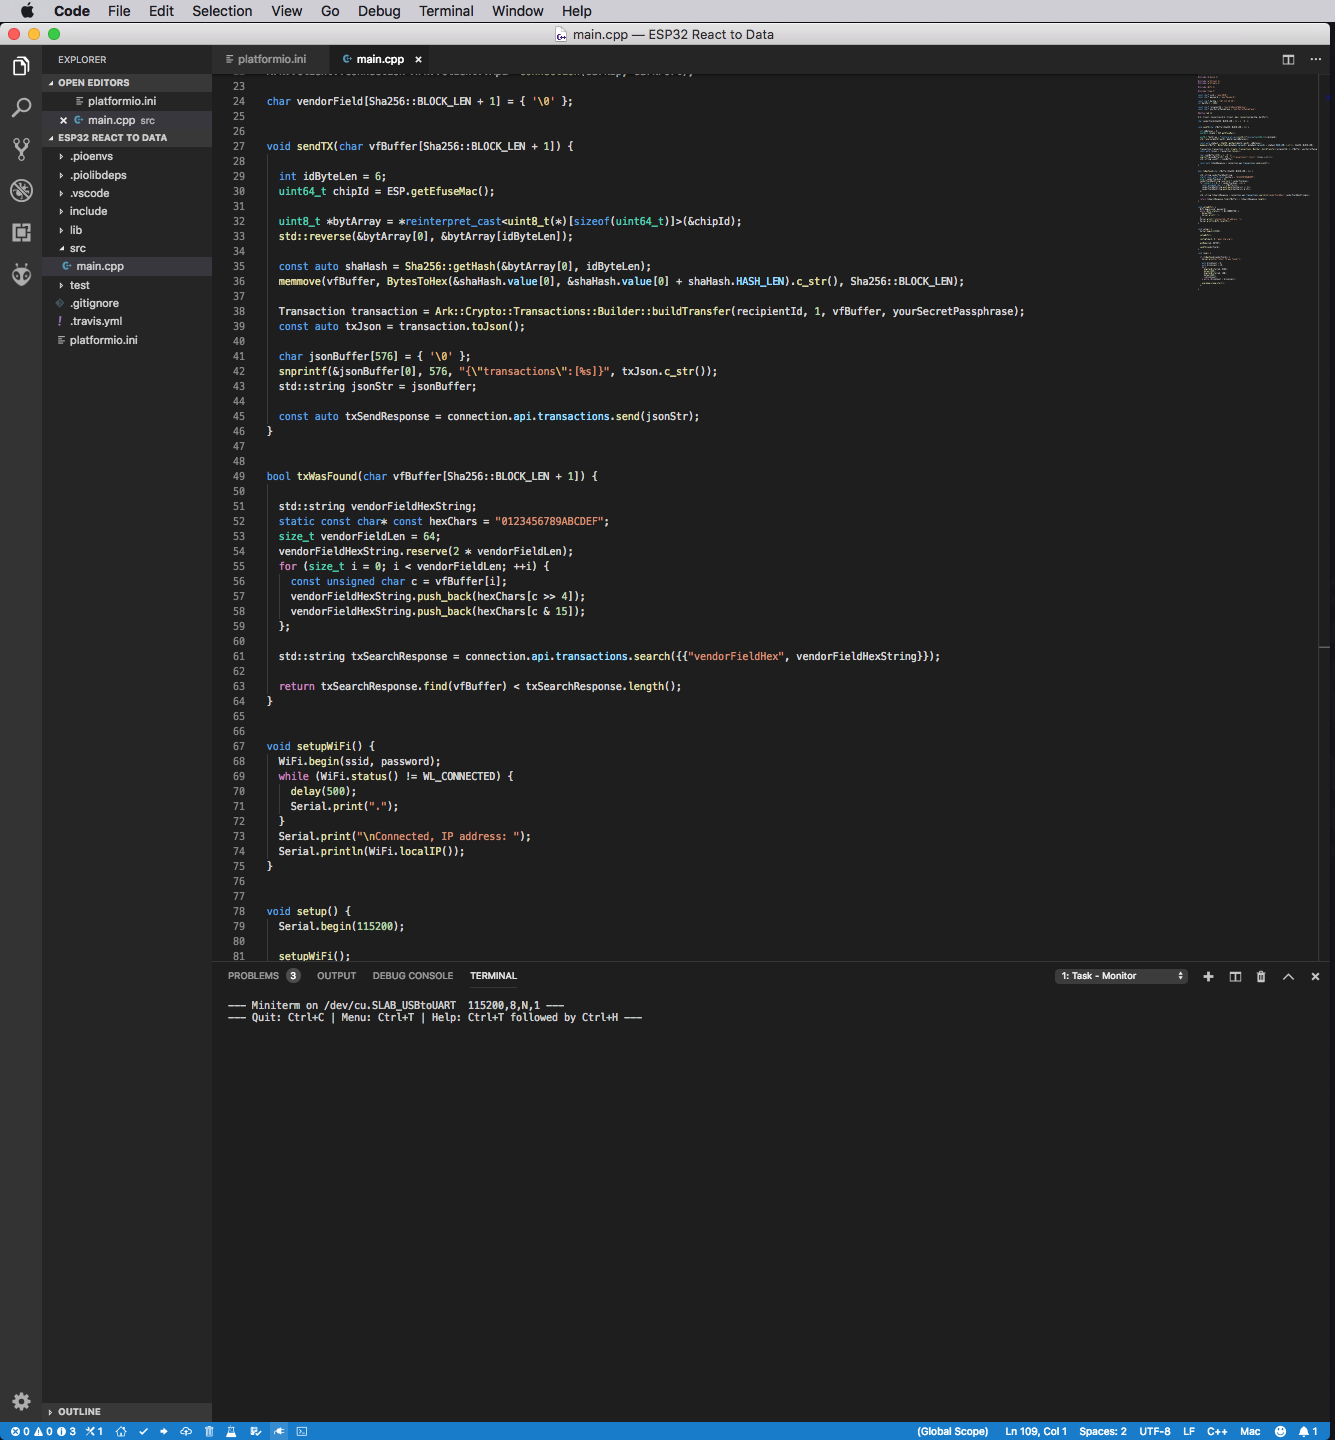
Step 5: Running Your Example!!
Arduino
Plug your ESP32 into your computer via USB, and open the serial monitor.

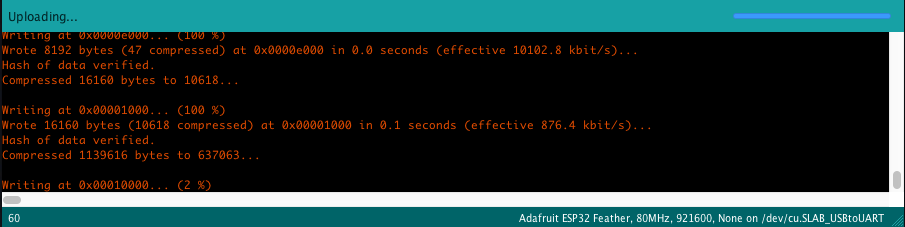
Press the arrow at the top left to upload the sketch to your board.
You can see the compiler doing its thing in that window to the bottom left. This is also where any errors or warning would show up.
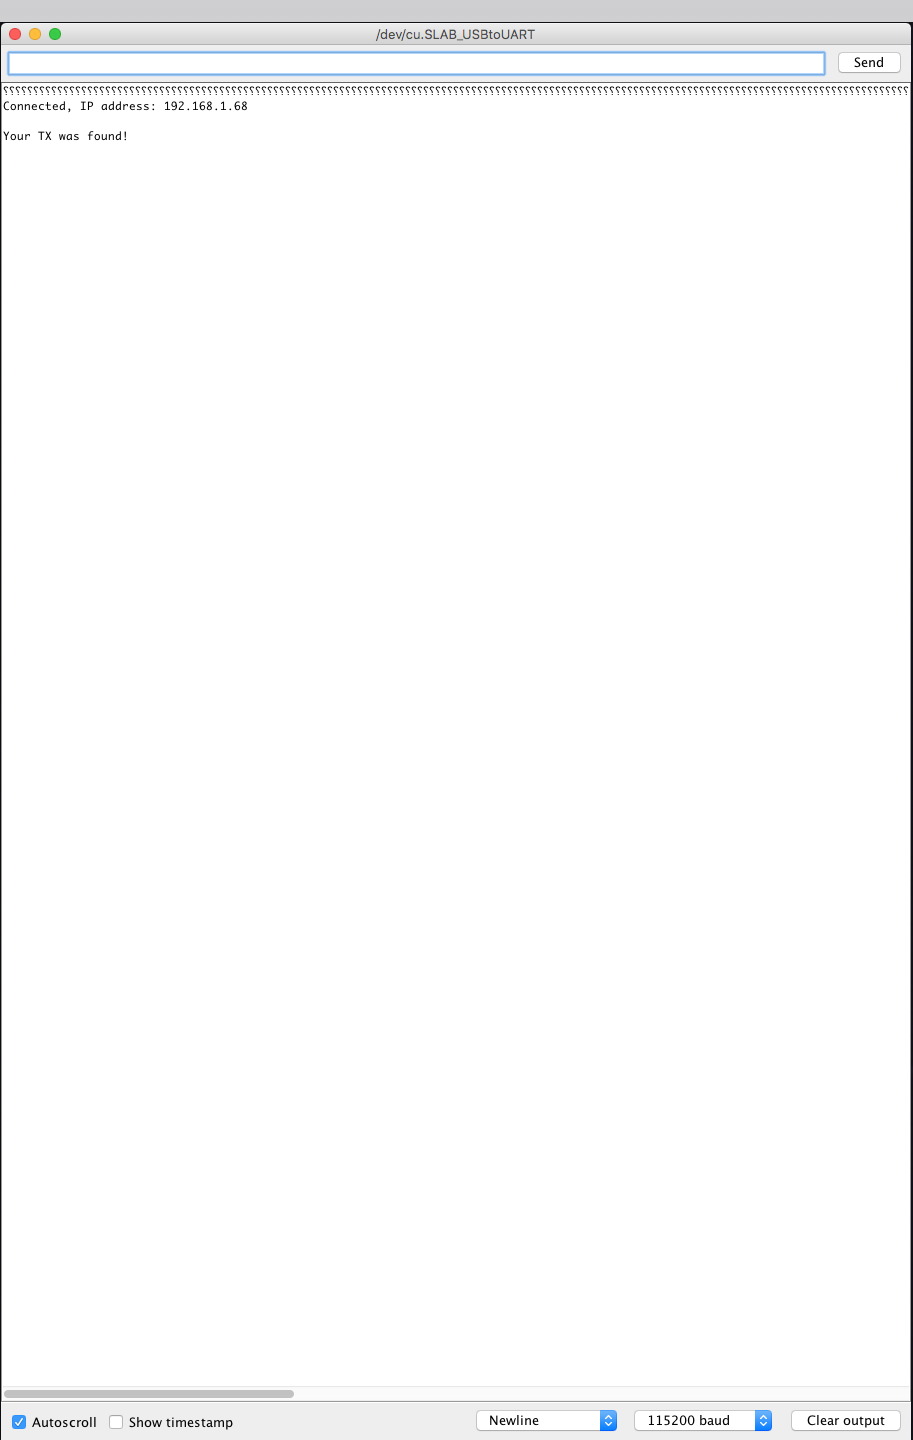
After the sketch is flashed to your board, you should get a response in the serial monitor. This is what it will look like when your TX has been found on the Swipechain blockchain. Your ESP32 should also be blinking!
PlatformIO
Plug your ESP32 into your computer via USB, and open the serial monitor.

Press the arrow towards the bottom left to upload the sketch to your board. You can see the compiler doing its thing in that window to the bottom right. This is also where any errors or warning would show up.

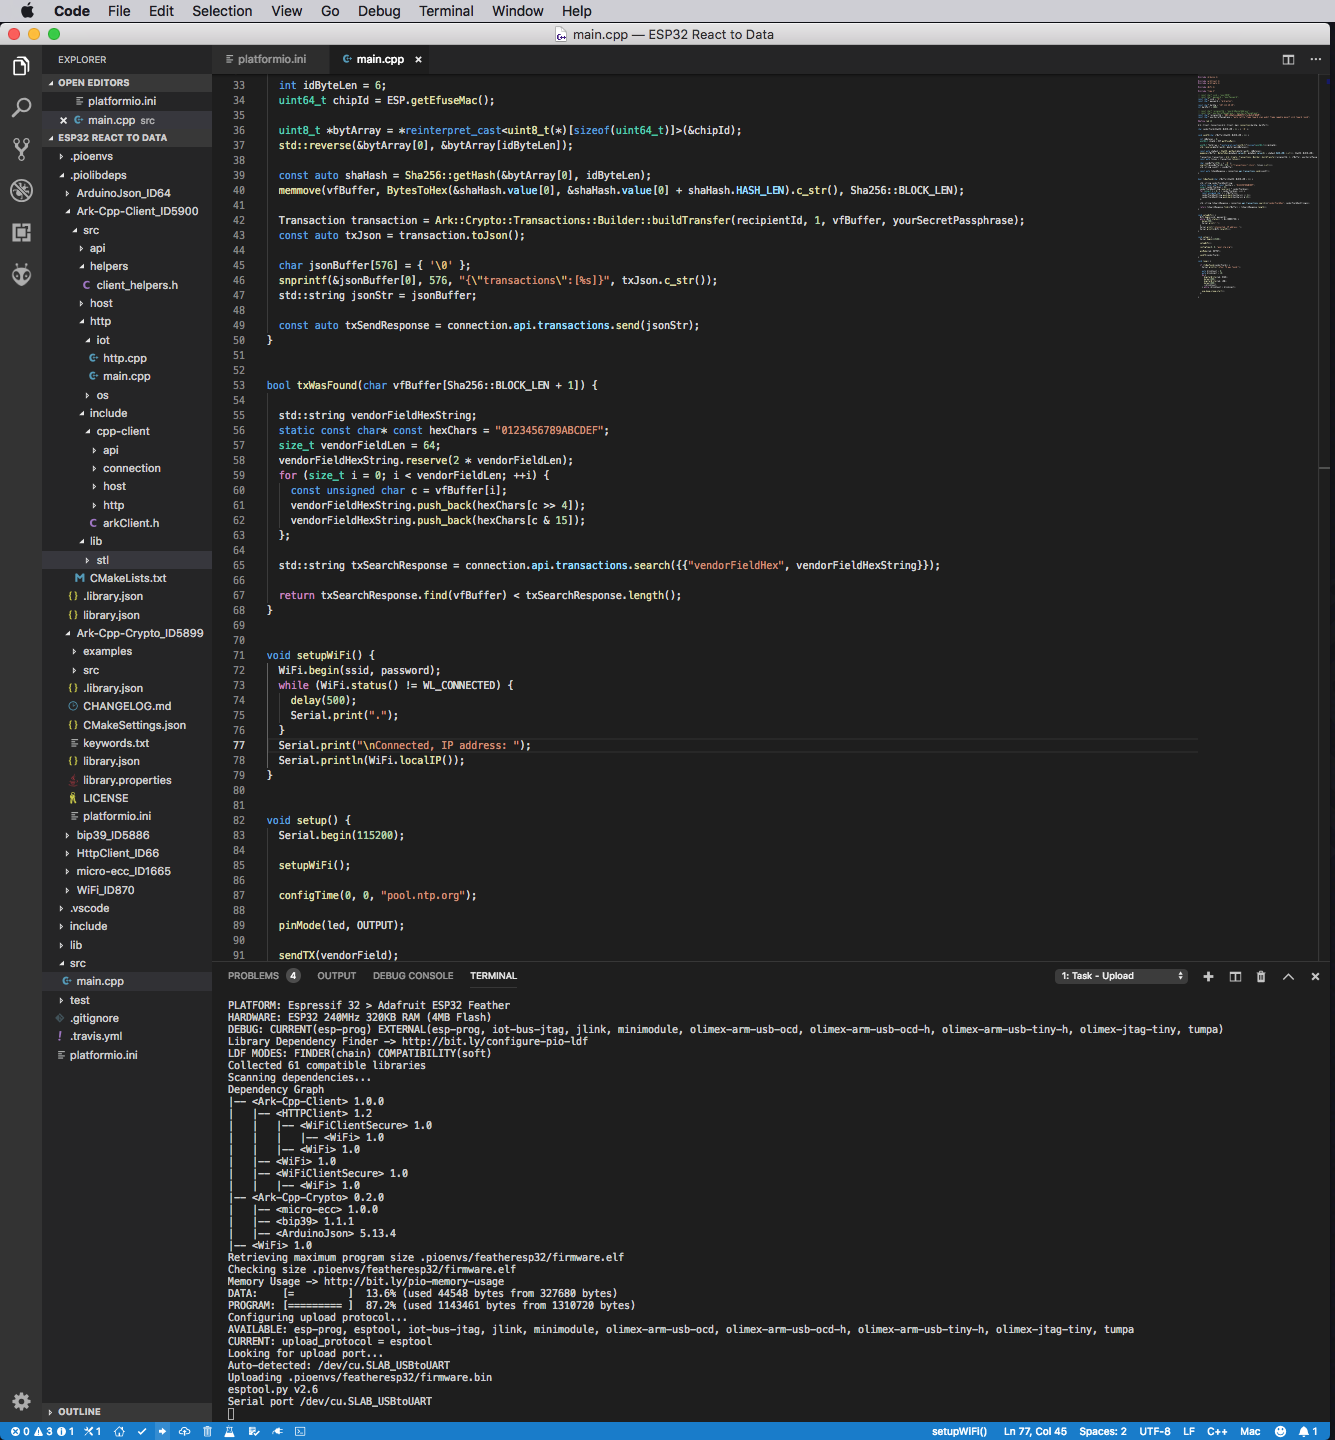
After the sketch is flashed to your board, you should get a response in the serial monitor!

This is what it will look like when your TX has been found on the Swipechain blockchain. Your ESP32 should also be blinking!

Congrats, you just posted AND reacted to data on a public blockchain!! 🎉 🎊
From here, the sky is the limit! We can now leverage the power of the Swipechain blockchain and its VendorField. We could trigger alerts and notifications, even control things in the physical world! Set up a solenoid to unlock a door, create a vending machine, rent access to your robotics or e-transportation project... any of a million different configurations and possibilities.